How to Wire 8 Solar Panels in Series Parallel for Better Voltage Efficiency
The standard way to wire eight solar panels in series-parallel is two parallel strings of four panels each.
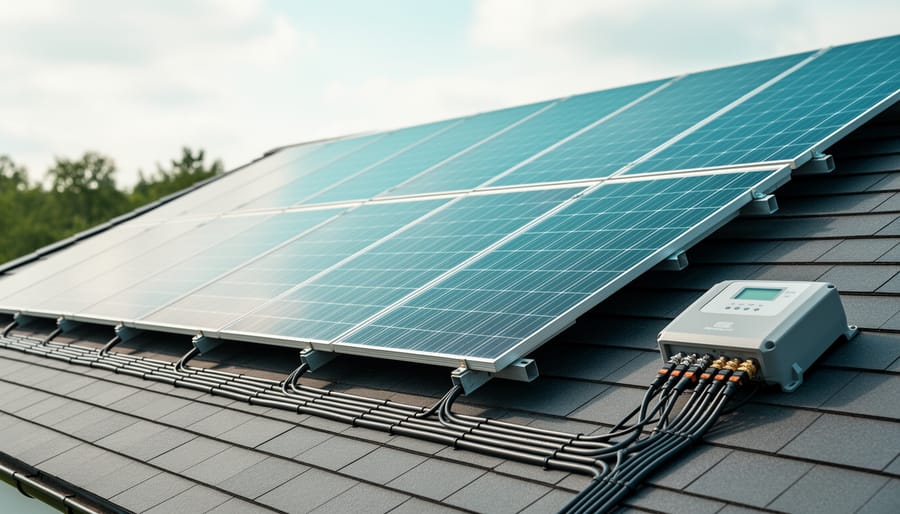
The standard way to wire eight solar panels in series-parallel is two parallel strings of four panels each. Connect four panels in series to add their voltages, repeat for a second string, then join the two strings in parallel to add their currents. The result is a bank that runs at four times a single panel’s voltage and twice its current, which is often the sweet spot for a charge controller or inverter input window.
Why does this layout work so well? Higher string voltage means lower current for the same power, and lower current means thinner wire runs, smaller voltage drop, and less heat at the connectors. Two strings also give you a built-in safeguard: if shade or a fault hits one string, the other keeps producing. As a worked example, eight 40-volt, 10-amp panels wired this way land near 160 volts and 20 amps, or about 3,200 watts. That number must stay inside your equipment’s limits, including cold-weather voltage, which is where most mistakes happen.
Plan on a few hours of careful work and moderate difficulty, with a multimeter, correctly rated MC4 connectors, and your controller or inverter specifications on hand. The same string-sizing logic matters well beyond new builds, including when owners weigh repowering solar arrays with newer, higher-output modules. Below, you’ll find the tools, safety checks, step-by-step wiring, and verification tests to get it right the first time.
Why Series-Parallel Wiring Matters for Solar Panel Voltage Efficiency
How 8 Panels Can Be Arranged: Series, Parallel, or Both
Eight panels can be wired four ways, and each one trades voltage against current. To compare them, assume eight identical panels, each with a Vmp of about 36V and an Imp of about 10A. Those are illustrative numbers, so check your own datasheet.
All 8 in series (one string of eight). Voltages add, so you get roughly 288V at 10A. Current stays low, which means thin wire and minimal resistive loss. The catch is that cold-weather Voc can push the string past the input limit of many charge controllers and some inverters, and one shaded panel drags down the entire string.
All 8 in parallel. Current adds instead, giving about 36V at 80A. That voltage suits a 24V battery bank, but 80A demands very thick cable, fuses on every branch, and a combiner. Wiring losses are the highest of the four options.
4 strings of 2. This yields about 72V at 40A. It is a workable middle ground, though the current is still high enough to need a combiner with per-string fusing and heavier conductors.
2 strings of 4. This gives about 144V at 20A. It sits in the middle on both measures, which is why two parallel strings of four is such a common choice. Voltage is high enough to keep current and wire losses modest, yet low enough that many MPPT controllers and string inverters can accept it, even after the cold-temperature Voc correction. The loss from a single shaded panel is also contained to one of the two strings.
Still, “common” does not mean “right for every system.” The best arrangement depends on your equipment’s maximum input voltage, its current limits, and your climate. A 48V battery system might favor longer strings, while a controller with a low voltage ceiling might push you toward shorter ones. Always check the equipment’s specs before choosing.
Tools and Materials for Wiring 8 Solar Panels in Series-Parallel
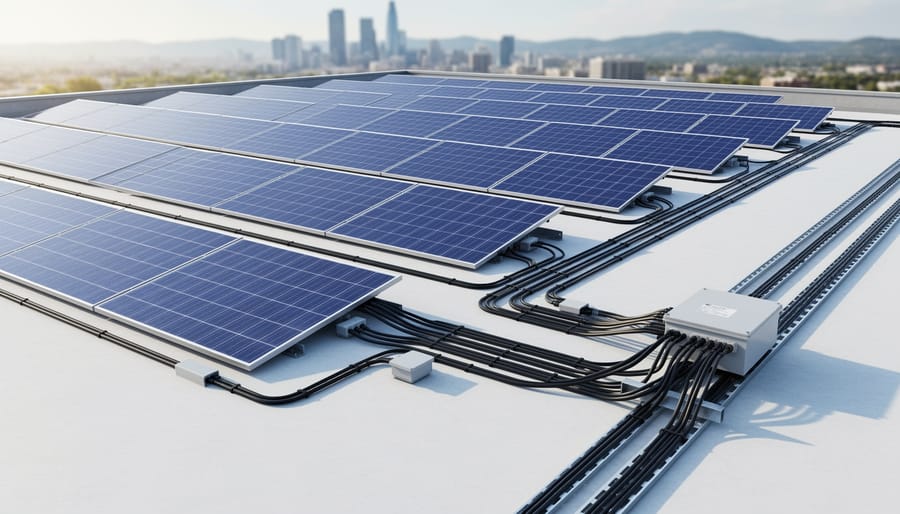
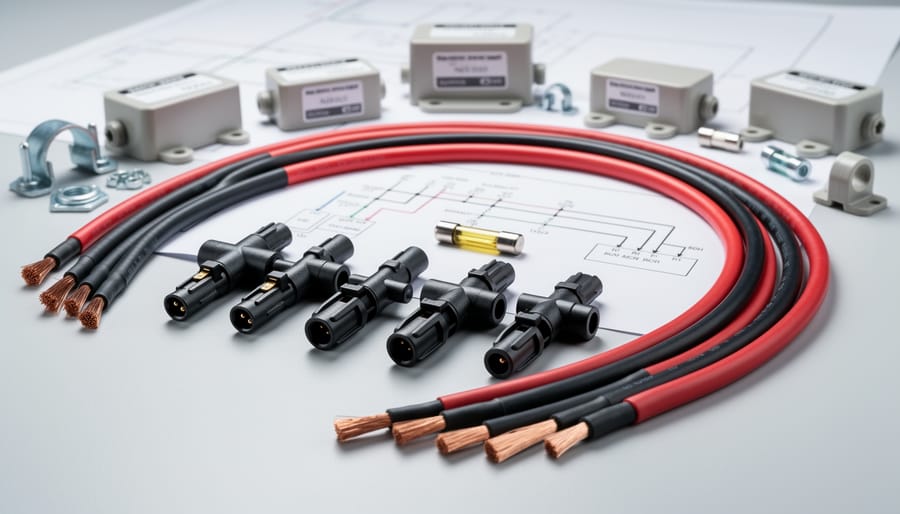
Before you touch a single connector, gather everything in one place. Wiring eight panels in two strings of four is straightforward when the parts match, and it gets frustrating fast when one item is undersized or missing. Start with the nameplate on the back of each panel, which lists the Voc, Vmp, Imp, and maximum system voltage. Those numbers drive every purchase below.
- Eight matching panels: identical model and wattage keep the strings balanced and avoid mismatch losses.
- Charge controller or inverter: must be rated above the array’s cold-weather Voc and its expected current.
- MC4 connectors and crimping tool: make weatherproof, secure connections on the PV wire.
- PV wire: UV-resistant, correctly sized cable for the string and output runs.
- Combiner box or branch connectors: join the two strings in parallel at a single point.
- Fuses or breakers: protect each string and give you a safe way to isolate the array.
- Multimeter: verifies voltage and polarity before anything connects to your equipment.
- Labeling supplies: mark strings, polarity, and disconnects so future maintenance is clear.
Sizing matters most for the controller or inverter. Multiply a single panel’s Voc by four, then apply a cold-temperature correction, and confirm the result stays under the equipment’s maximum input voltage. Do the same check for current across the two parallel strings.
Local code requirements also shape your shopping list. Some jurisdictions dictate fusing, labeling, rapid shutdown, or the type of combiner hardware, so confirm the rules with your local authority or a licensed electrician before you buy. A few minutes of checking now can save you from returning parts or redoing finished wiring.
Safety Warnings and Stop Conditions Before You Connect Anything
Solar panels produce live voltage whenever light hits them, and you can’t switch that off. Wired in series, four panels can add up to a level that causes a serious shock, so treat every connected string as energized from the first connection to the last.
Work in low light, early morning or dusk, or cover the panels with opaque material while you wire. Never connect or disconnect an MC4 connector while current is flowing, because pulling a live connector can create a sustained DC arc that burns the connector and your hands. Open the breaker or disconnect first, then work.
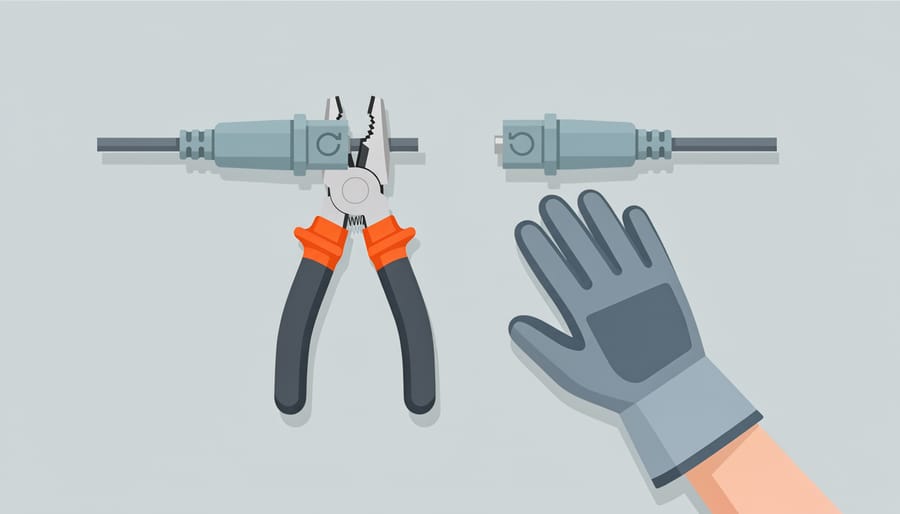
Wear rated gloves and eye protection, and use insulated tools. Keep jewelry off, keep the area dry, and don’t work alone if you can avoid it.
Cold weather deserves special attention. Panel voltage rises as temperatures fall, so a string that reads comfortably within limits on a mild day can spike above your equipment’s maximum on a frosty morning. Calculate the cold-temperature Voc using the correction factor on your panel’s datasheet before you connect anything to a controller or inverter.
Stop and call a licensed electrician if the string voltage sits close to your equipment’s limit, if you’re unsure what your local code requires, or if you find damaged or corroded connectors. Cracked insulation and loose pins are an arc and fire risk, so replace them rather than taping over them. If a panel itself looks damaged, learn how to repair solar panels properly, or have a professional do it, before it goes into your array.
When in doubt, pause. A short delay costs far less than damaged equipment or an injury.
Step-by-Step: Wiring 8 Panels in Two Series Strings, Then in Parallel
Worked Example: Calculating Voltage and Current for an 8-Panel Array
Here’s a hypothetical example using round numbers. These figures are illustrative only, so swap in the values from your own panels’ datasheets before you buy or wire anything.
Assume eight identical panels, each with these specs: 100 W rated power, Vmp of 20 V, Voc of 24 V, and Imp of 5 A.
Step 1: Calculate each string. Four panels in series add their voltages, while current stays the same.
– String Vmp: 4 × 20 V = 80 V
– String Voc: 4 × 24 V = 96 V
– String current: 5 A
Step 2: Combine the strings in parallel. Two strings in parallel add their currents, while voltage stays the same.
– Array voltage (Vmp): 80 V
– Array Voc: 96 V
– Array current: 2 × 5 A = 10 A
Step 3: Check the power. Multiply operating voltage by current: 80 V × 10 A = 800 W. That matches eight panels at 100 W each, which is a quick sanity check that your math is right.
Step 4: Compare against equipment limits. Suppose your charge controller is rated for a maximum input of 150 V and 30 A.
– Voc of 96 V is well under 150 V, which leaves headroom for cold-weather voltage rise.
– Array current of 10 A is comfortably under 30 A.
Cold temperatures raise Voc, so apply the correction factor listed on your panel datasheet. If 96 V climbed by, say, 15 percent, it would reach about 110 V, still safely within the limit.
If your own numbers land close to a limit, stop and rethink the layout or consult a licensed installer or electrician before connecting anything.
Verifying Your Array and Maximizing Efficiency Afterward
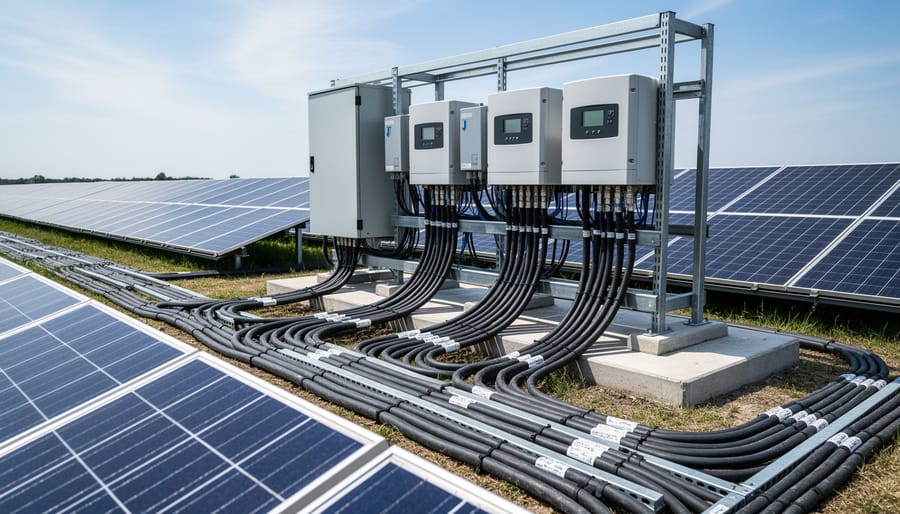
Before you energize anything, measure string voltage on each four-panel string with a multimeter while the strings are still disconnected from each other. Compare each reading to your calculated open-circuit voltage (Voc), the voltage a string produces with no load attached. In decent daylight, a healthy string should land close to four times a single panel’s rated Voc, adjusted for temperature. A reading that’s noticeably low usually points to a reversed panel, a loose MC4 connector, or a shaded module. Once both strings match each other, join them in parallel and measure the combined array voltage. It should equal one string’s voltage, not double it. If it doesn’t, stop and recheck the connections.
Next, check polarity and connector seating. Confirm positive meets negative within each string, and tug each MC4 gently to make sure it’s fully locked. Then watch performance after commissioning. Compare your charge controller or inverter readout against expected output on a clear day, and keep notes so you can spot drift over time. This kind of photovoltaic testing turns a one-time check into a baseline you can trust.
To keep efficiency high, minimize shading and mismatch. Even a small shadow across one panel can drag down an entire series string, so trim nearby branches and keep strings on matching panels. Where shading can’t be avoided, module-level power electronics such as optimizers or microinverters let each panel perform independently. Newer higher-voltage panels and modern MPPT (maximum power point tracking) controllers also squeeze more usable energy from the same layout. If readings stay off after your checks, professional diagnostic tools can pinpoint the fault quickly.
Common Questions About Wiring 8 Solar Panels in Series-Parallel
Most readers hit the same handful of questions once the layout is clear. Here are the ones that come up most, with answers that hold for typical residential setups.
Can I mix panels of different wattage in one array?
It’s best to avoid it. In a series string, current is limited by the weakest panel, so a lower-rated panel drags down the whole string. If you must mix, keep matched panels together in the same string and make sure both parallel strings end up at similar voltages.
How does shading affect a series string?
Shading even one panel can cut output for the entire string, because the shaded panel restricts current for the rest. That’s why parallel strings help: a shaded string doesn’t fully pull down its neighbor. Module-level electronics can reduce the penalty further.
Do 12V, 24V, or 48V battery systems change the layout?
Yes, mostly through the charge controller. An MPPT controller can accept a higher array voltage and step it down to the battery, but you must stay under its maximum input voltage and current ratings. Check the controller’s datasheet before choosing how many panels go in each string.
When do I need a combiner box or fusing?
Two parallel strings can often be joined with branch connectors, but many installations add fuses or breakers on each string for protection. Requirements depend on panel specs and local code, so confirm them before you wire anything.
Permits are the question people most often skip, and it’s worth slowing down on. Many areas require a permit, an inspection, or both for solar wiring, even for a DIY build, and some utilities require sign-off before you connect to the grid. Rules vary by city and country, so contact your local building department early. If your array voltage sits close to equipment limits or your code requirements are unclear, a licensed electrician or qualified solar installer can review your design before you commit to it.
Wiring eight panels in series-parallel, typically as two parallel strings of four, gives you a practical balance of voltage and current. Higher string voltage means lower current, thinner wire runs, and fewer resistive losses, which is the heart of voltage efficiency. The real value comes from matching that layout to your equipment, so confirm your charge controller or inverter can handle the array’s maximum voltage, including the cold-weather rise in open-circuit voltage, before you connect anything.
Safety deserves the same attention as the math. Panels are live whenever light hits them, so cover them or work in low light, never disconnect connectors under load, and stop if anything looks mismatched or damaged. If your system is large, your voltage margins are tight, or local code requirements are unclear, bring in a licensed solar installer or electrician to finalize the design and make sure it passes inspection.
Panel and inverter technology keeps moving, with higher-voltage modules, smarter MPPT controllers, and module-level electronics all widening the wiring options available to homeowners and businesses. Expect even more flexible ways to build an efficient array in the years ahead.